Whether you’ve just finished remodeling, wrapped up finishing touches with your interior designer, or you’ve put your brand new property on the market, you’ll want to start thinking about how to prepare for your real estate photography. Because most people and realtors start their research for the perfect place on the world wide web, you need your interiors to stand out among the others.
Plus, in a growing real estate market like Chicago, you need to know how to prepare for your real estate photography, if only to avoid the #badrealestatepics hashtag (yes, that’s a thing).
Below, we’ve listed our top tips for getting your space ready, so you can showcase gorgeous interiors and entice people looking for the perfect place.
Tip #1: Hire a stylist, interior designer, or professional stager to help prepare for your real estate photography (if you haven’t already.)
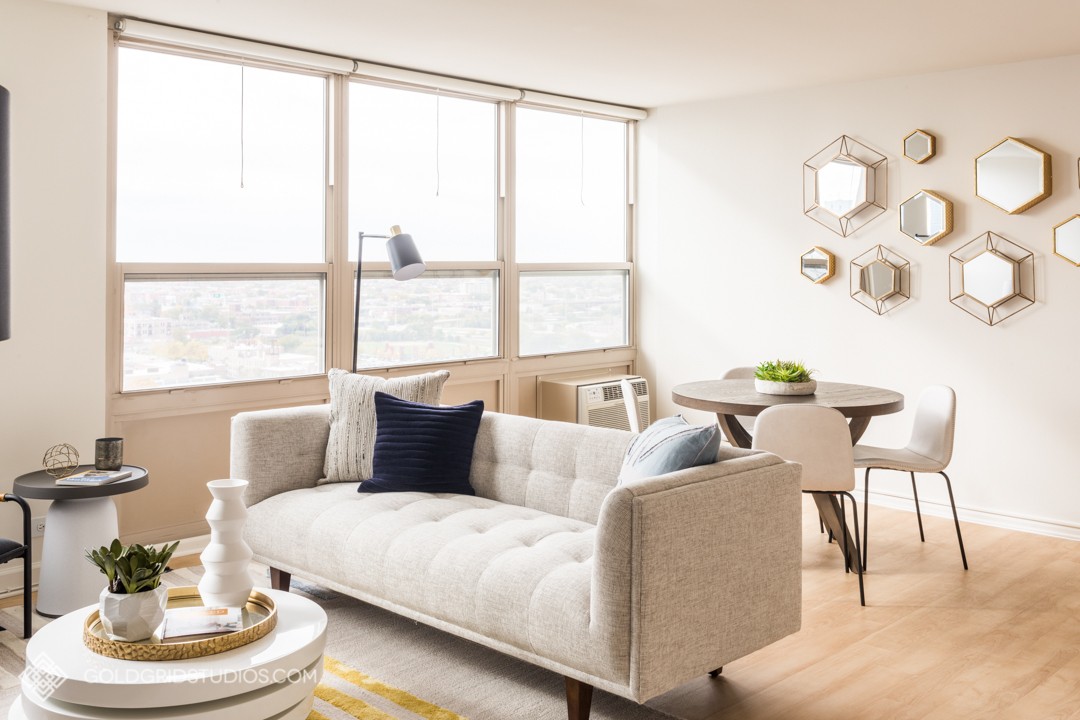
Bringing in a professional stager or stylist will bring your space to a new level! They will take care of the furniture and arrangement for you. Because of their expertise, they understand how to stage furniture for photographs.
However, if hiring a stylist falls outside of your budget, start your process with a mindset of “less is more.” Your space should look as clean and minimal as a tastefully furnished hotel. Your furnishings should be somewhat generic, but also stylish and refined.
By the way, feel free to contact us if you need recommendations on stylists! We can put you in touch with high-end interior designers, professional stylists, or more budget-friendly alternatives.
Tip #2: Plan a time frame that includes perfect light for your exterior photos.
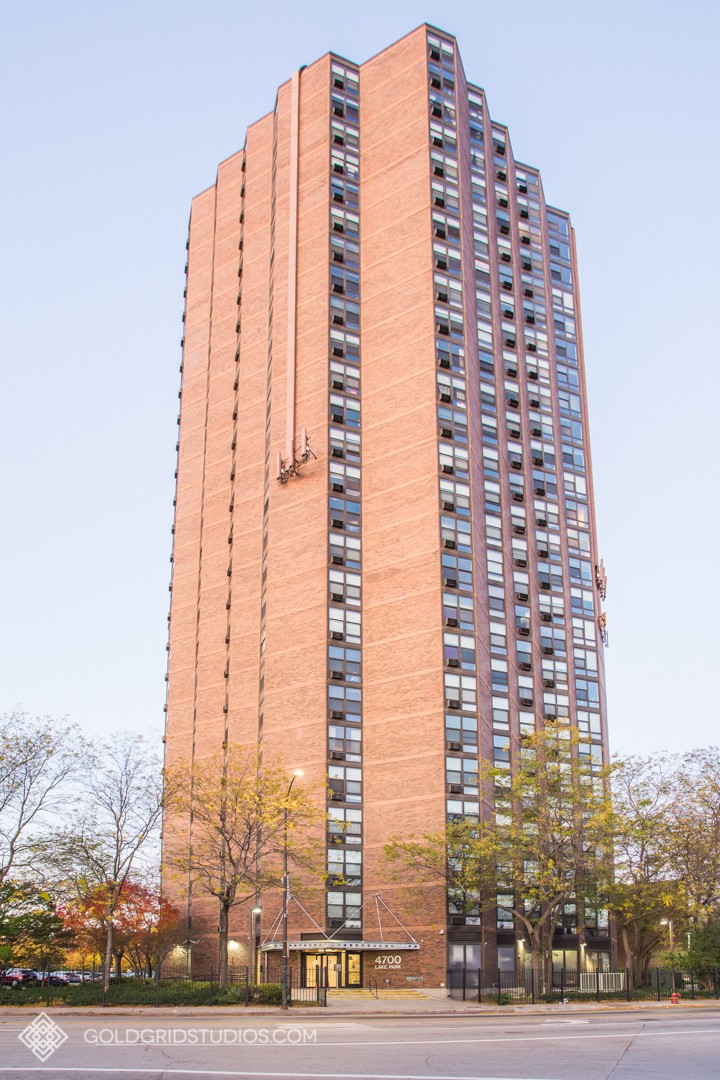
Also, take note of what direction your building faces, and communicate that with your photographer as soon as you start planning the shoot. Some buildings look best 30 minutes before sunrise, others look better 30 minutes after sunset. For other kinds of residences, you’ll want to note what time of day they are in sunlight or shadow.
Tip #3: Detailed cleaning goes a long way. Spin your favorite tunes and take the time to eliminate the grime!
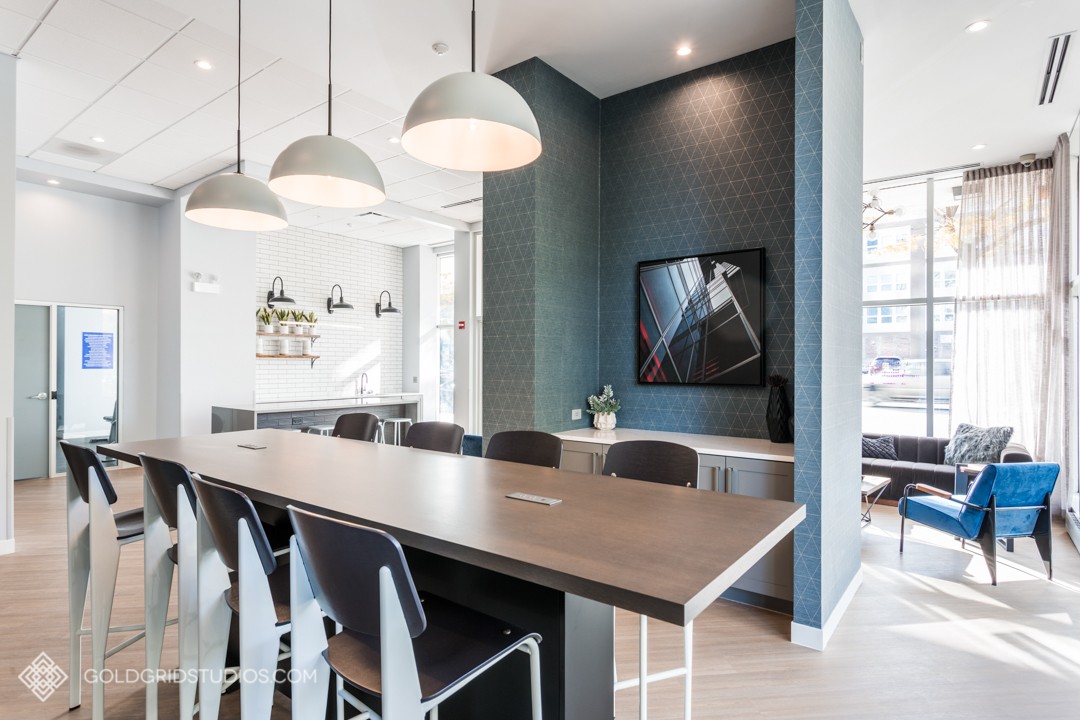
Make sure to mop floors, clean counter tops, and dust (even on top of the ceiling fans!) and have everything clean at least an hour or two before your photographer arrives.
You don’t want your photographer taking photos when your floor is two different colors from being partly wet and partly dry.
Next, you should grab your favorite window cleaner, and spritz on all glass surfaces, wiping them down for a streak-free appearance. For television screens and computer monitors, be sure to use appropriate screen cleaner. If there is any build-up on surfaces that you can see with your eyes, odds are they will also show up in the photos.
Tip #4: Find your inner Jackie Chan and karate chop your pillows. All of them.
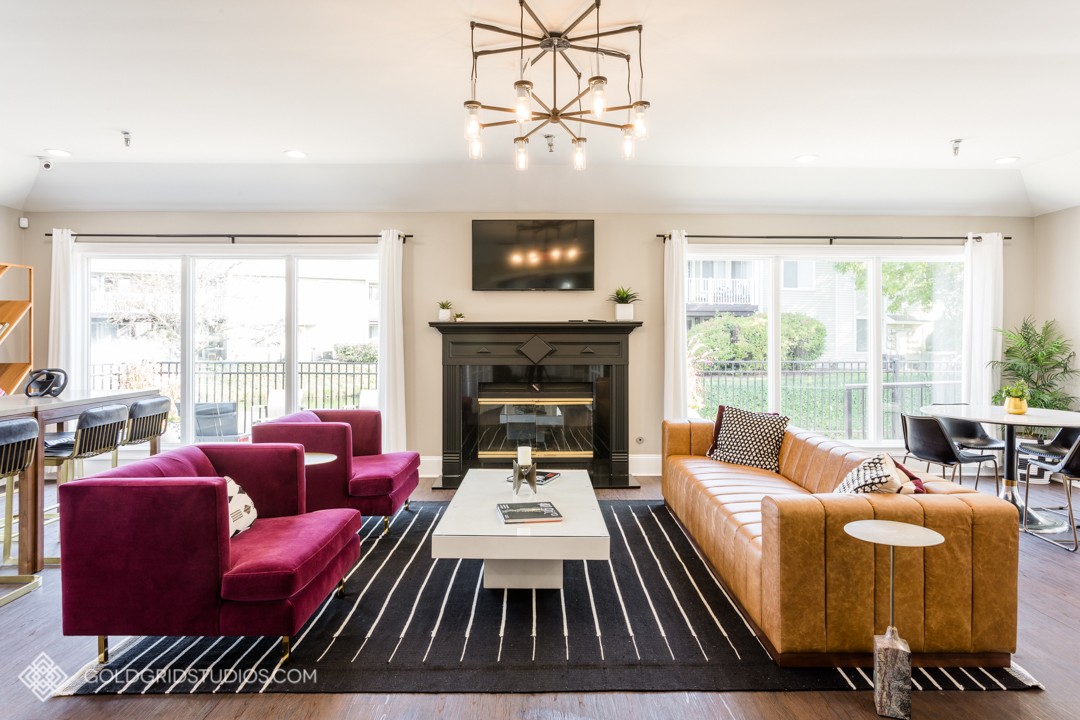
Don’t simply fluff your pillows… give them a gentle karate chop right in the middle!
This way, the pillows lay looking flat and natural but still have fluffiness. (We’ve met real estate agents who swear by this method. And we’ll always keep an eye out for any extra karate chopping needs before we start shooting!) We’ve got your back on this one.
Tip #5: Hide your cables and wires.
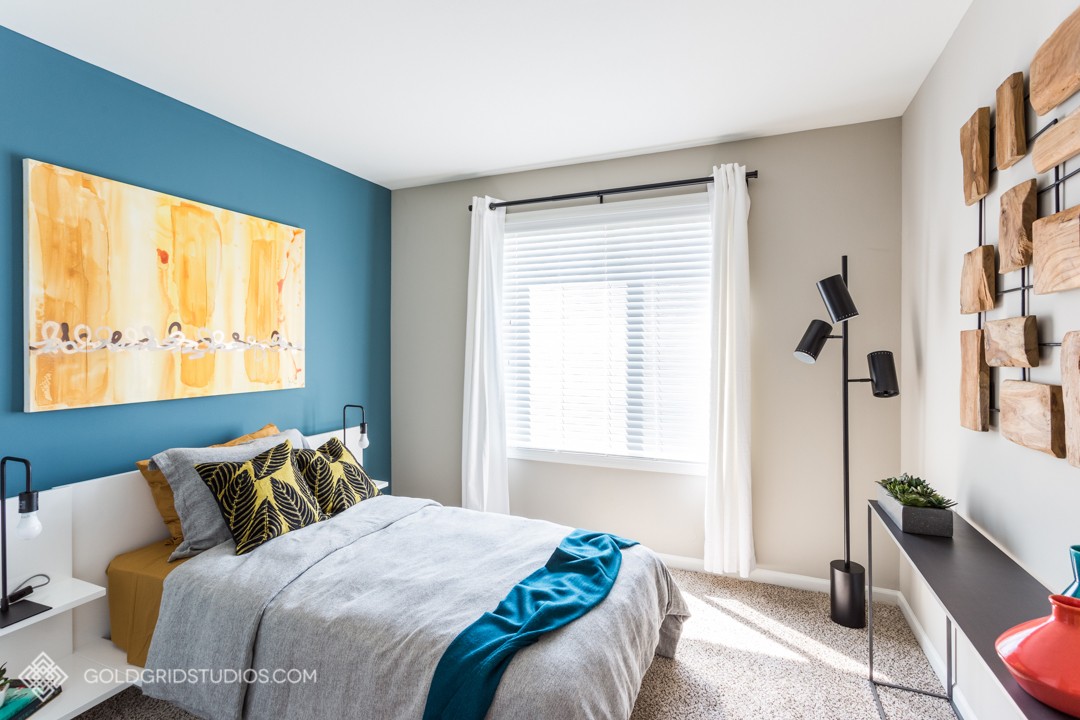
Totally unplug your appliances from both ends, whenever possible. TVs, lamps, and audio speakers should be unplugged with their cables hidden behind them.
Additionally, for larger, bulky appliances like printers, your best option is to clear them off the table. Hide them in the closet for the duration of the photo session.
Tip #6: Eliminate clutter on counters and in bathrooms.
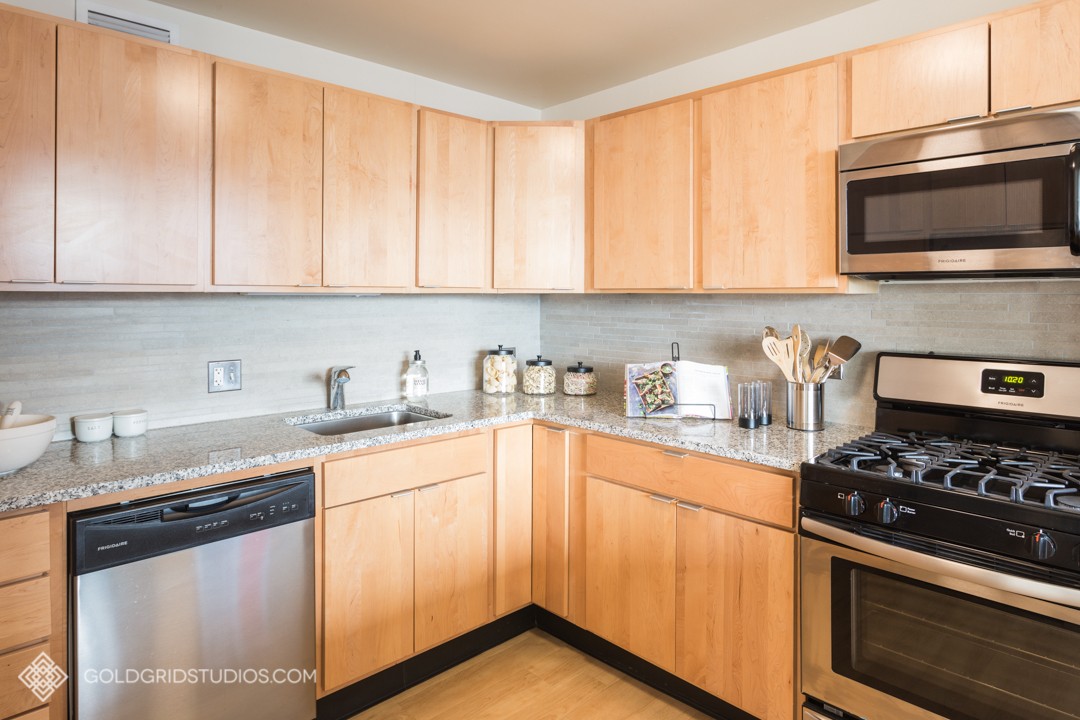
Clear off soaps, jewelry, paper towels… anything personal that you would not see at a hotel. Counters should be as clear as possible.
Also, anything that has a brand name on it (that you aren’t trying to promote) should be removed.
Tip #7: Hide your trash receptacles.
Even the nicest stainless steel trash receptacle should be hidden, unless it is built into the wall.
Tip #8: Keep a few extra light bulbs on hand, and think about color consistency.
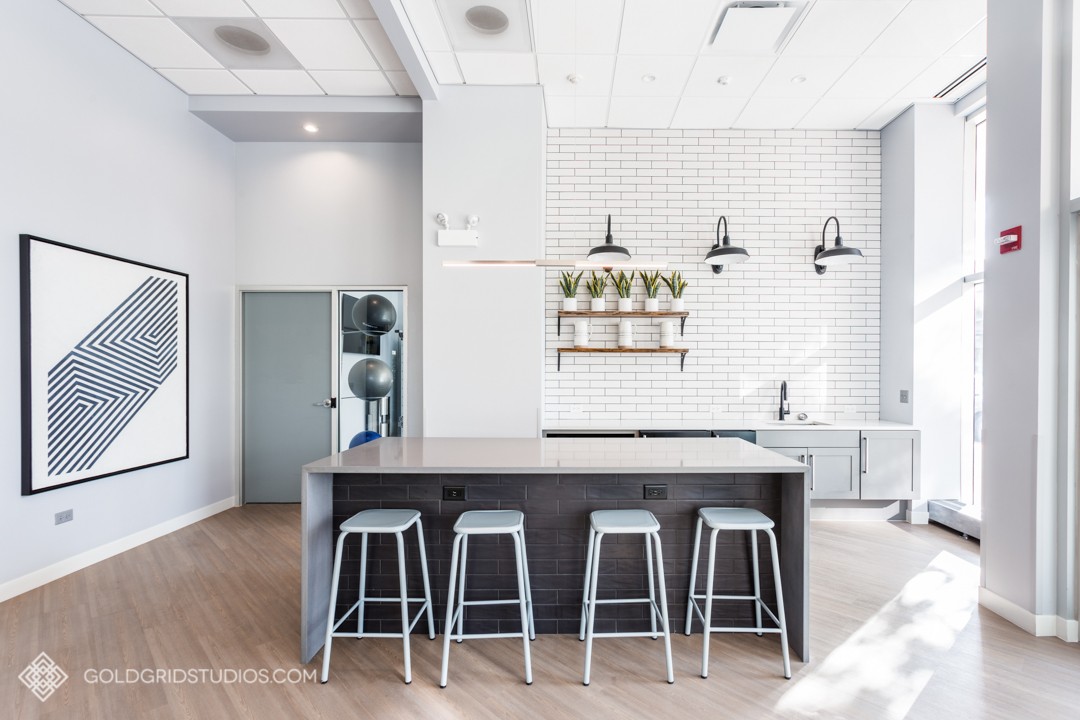
Turn on all your lights prior to the session, and leave them on as the photographer is working. Ideally, all the lights are the same color temperature (think warm, daylight, etc.) Consistency with lighting is KEY, and having a few backup bulbs is a great plan.
Unsure of your light bulbs? Take a quick cell phone photo with all the lights on and send it on over to us prior to your shoot! We believe in the power of communication. The more that you prepare for your shoot, the better the results.
Tip #9: Your outdoor landscape needs love, too.
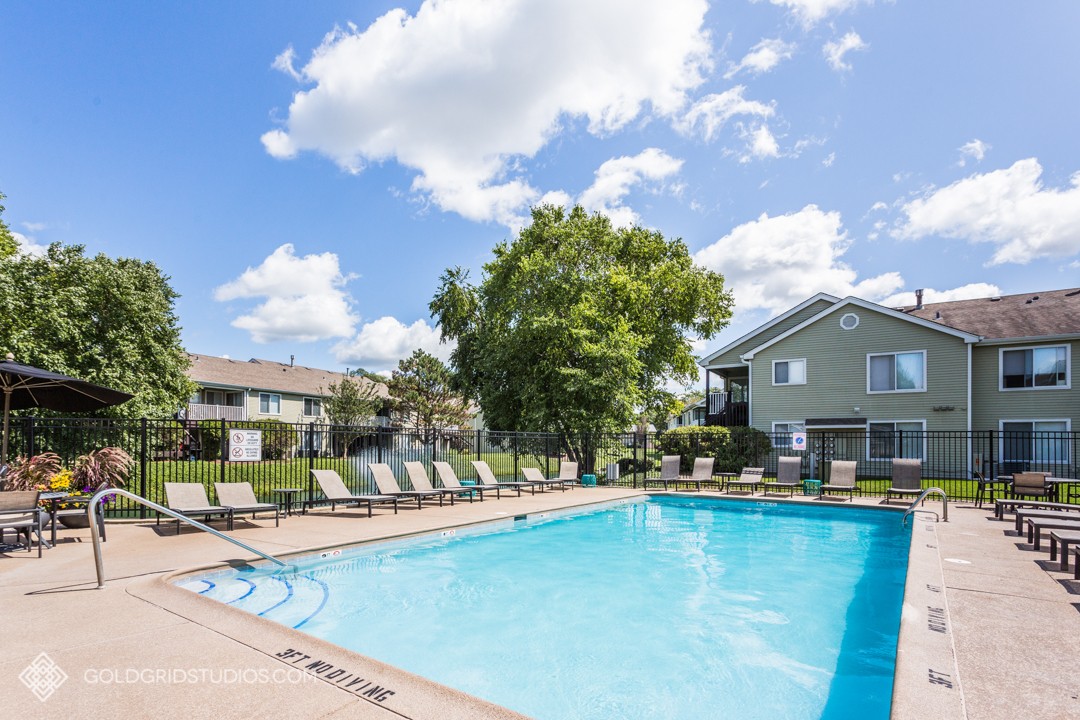
Stash away your poolside toys, and ensure the lawn has recently been cut and pruned before your photography begins. Rake leaves and sweep them off of outdoor patios if your session is in the fall.
Tip #10: Straighten your rugs, chairs, and tables.
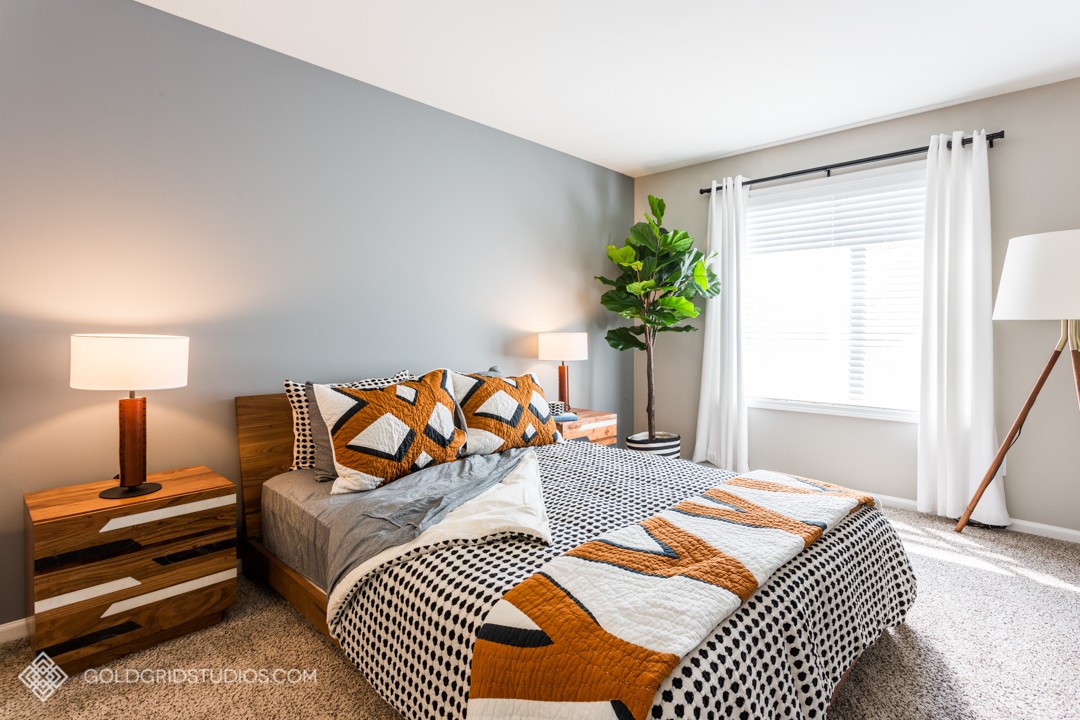
While this is something your stylist will have an eye for when you are getting all your furniture in order, be sure to walk around an hour before your photographer arrives. Make sure all furniture looks straight, and rugs haven’t been upturned!
Tip #11: Consider fresh (real!) flowers.
This is an easy way to add that WOW factor to your space! While fake floral and succulents look okay from a distance, real flowers naturally liven up the space.
Additionally, consult with your stylist – or your favorite florist – on what might look best based on your overall color scheme.
Tip #12: Open all of the blinds.
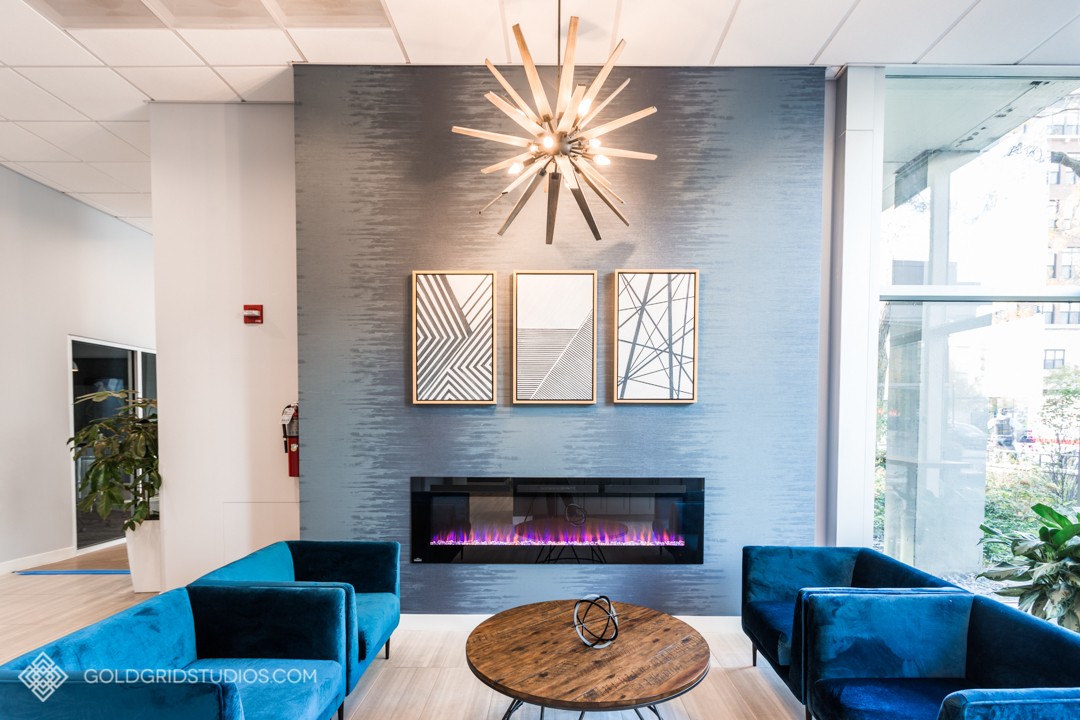
Flood your space with natural light! Your rooms will automatically look fresher, larger, and more modern. If your blinds or curtains look outdated, simply remove them.
Tip #13: Let everyone know!
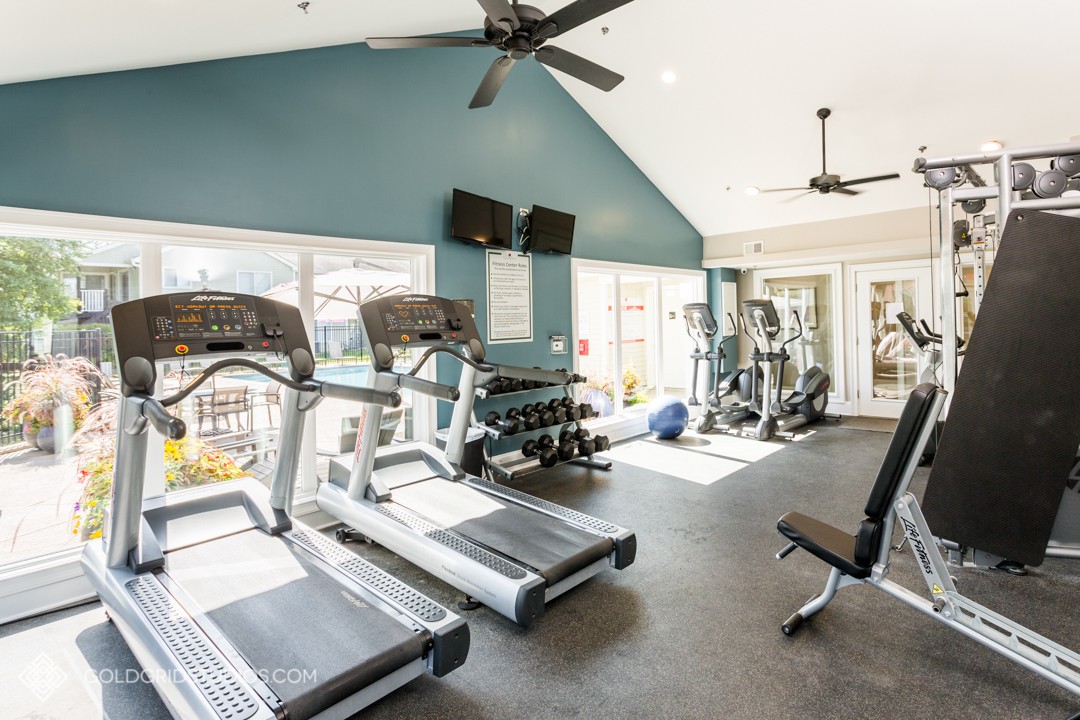
If your space has social lounges and workout areas available to your residents, let them know with a kind email and/or posted flyer. Include the date and time the photographer will be there, so they can plan accordingly.
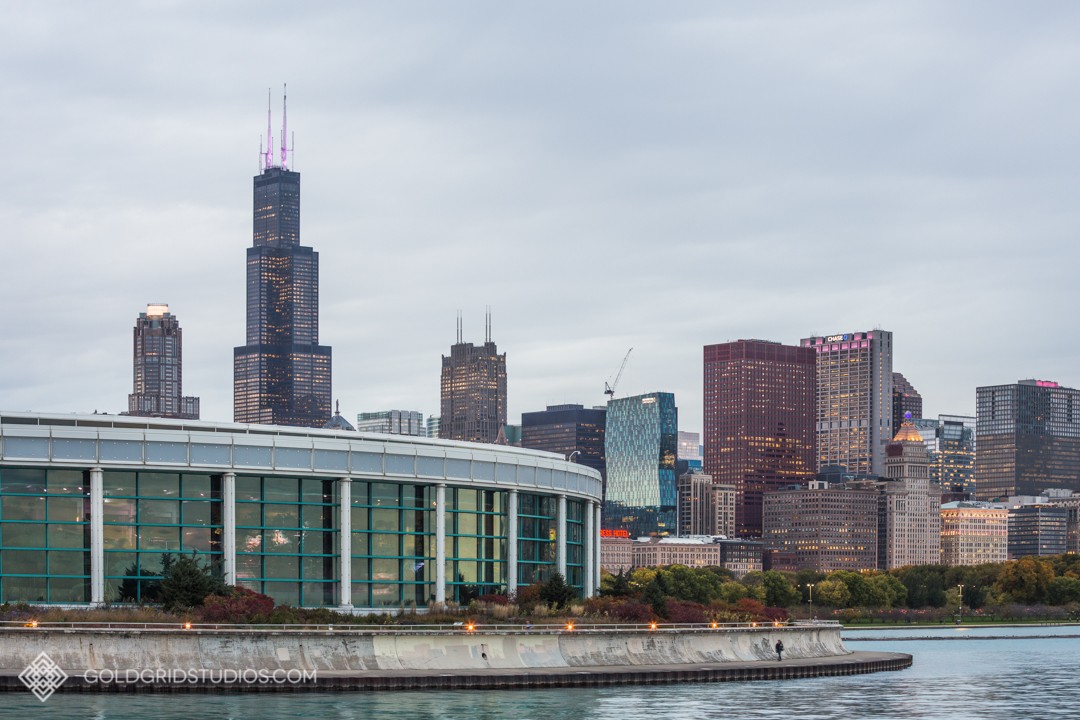
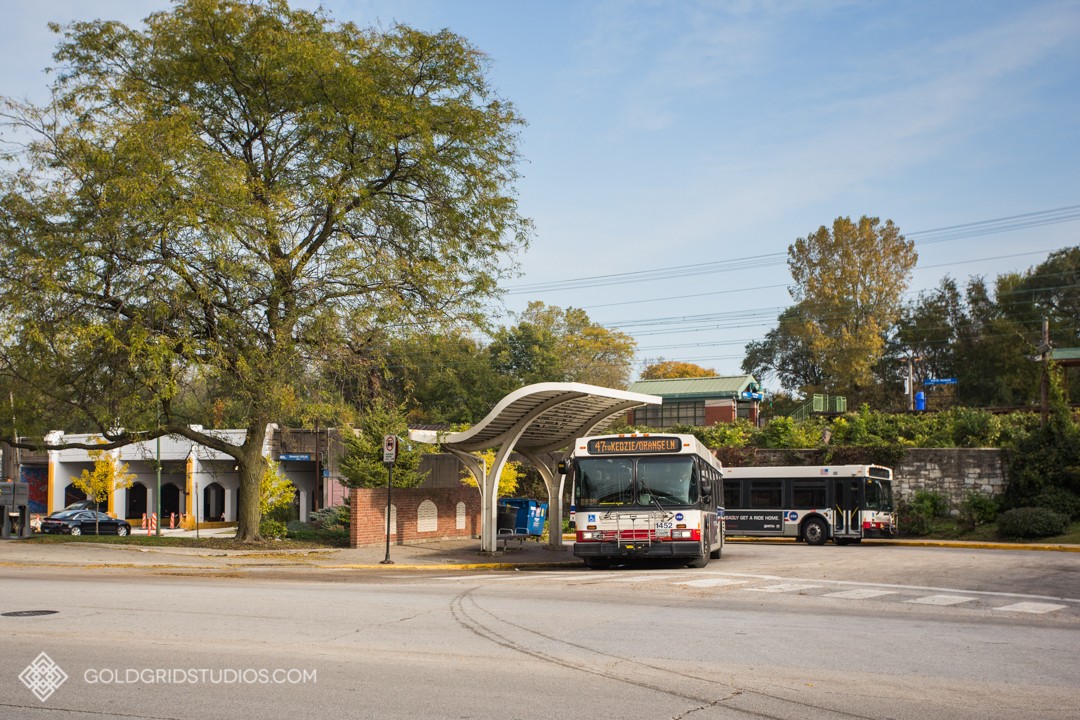
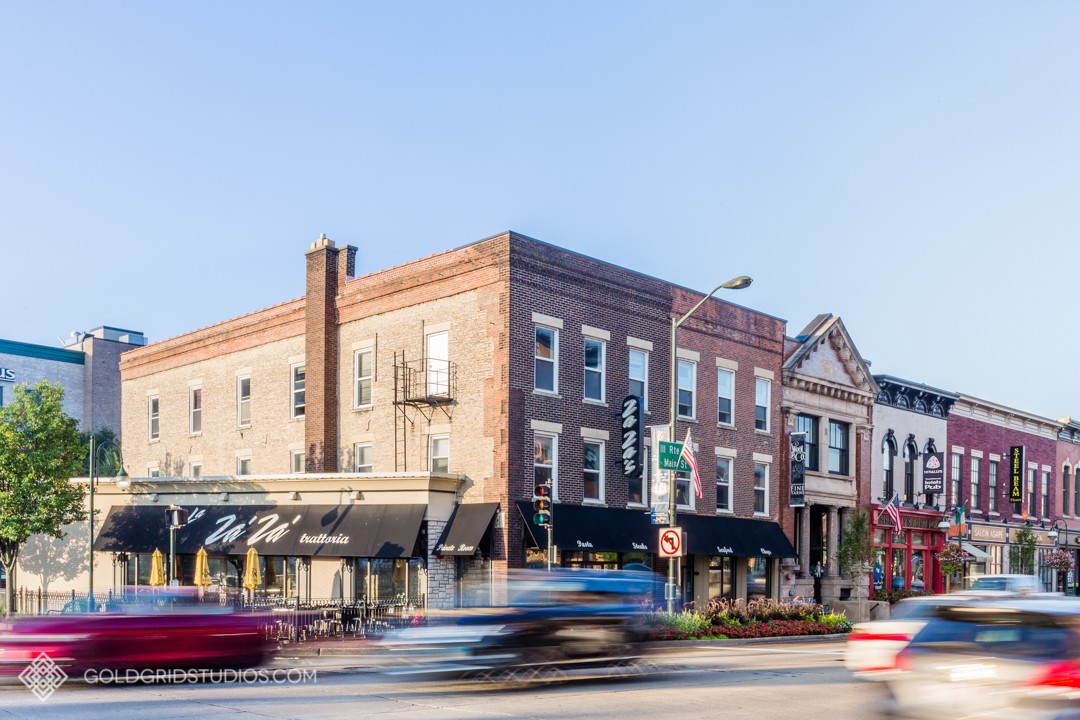
Tip #14: Consider including a few photos that showcase the neighborhood, attractions, and local culture as you prepare for your real estate photography.
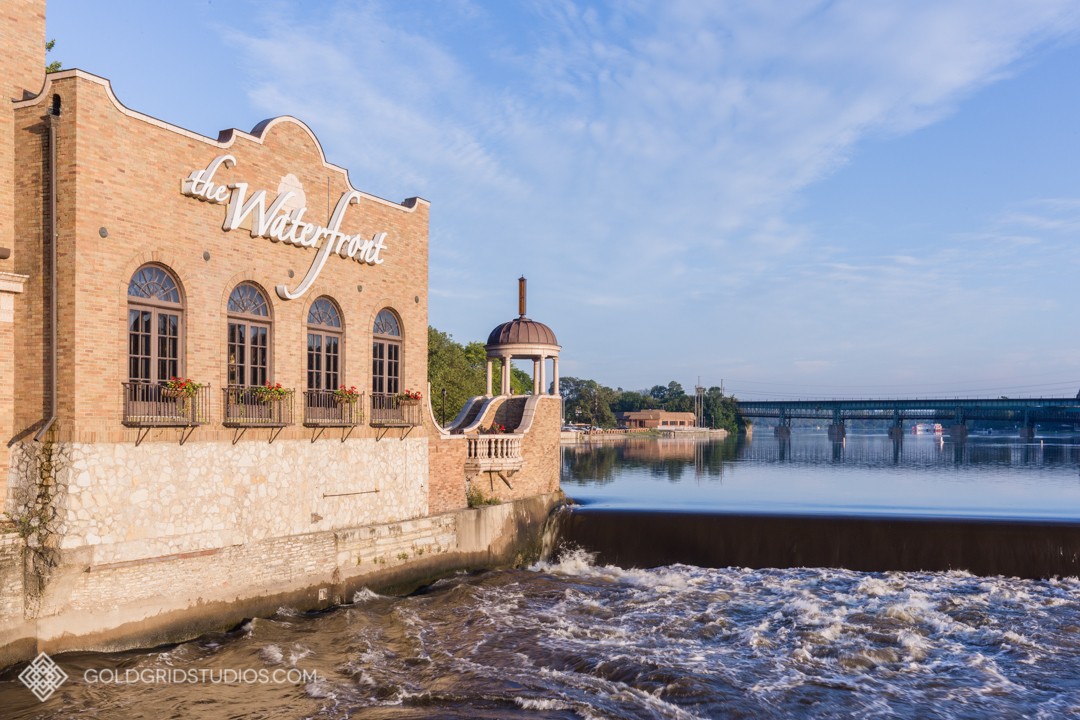
If the property is located near the most legendary pizza place in Chicago, your residents should know about it! (Right, Chicagoans?) If there is a public park walking distance away, or a museum, ask your photographer to make sure they take a few photos of the local scene. These add so much value to the location.
Plus, if you have your own images (not lifted from Google), they will be the right style and format to complement your other real estate photographs. Trust us, everyone can spot a stock image from a mile away.
Of course, the BEST thing to do is talk to your photographer prior to the session. Ask questions, and explain where you might be posting your photos (website, Zillow, real-estate sites…) and make a game plan.
When you are thinking about how to prepare for your real estate photography, make a list of all the rooms, amenities, and spaces you want photographed, and share that with your photographer in an email as you are making plans.
What questions does this bring up about how to prepare for your real estate photography? Send us a message, and we’ll be happy to share our advice!
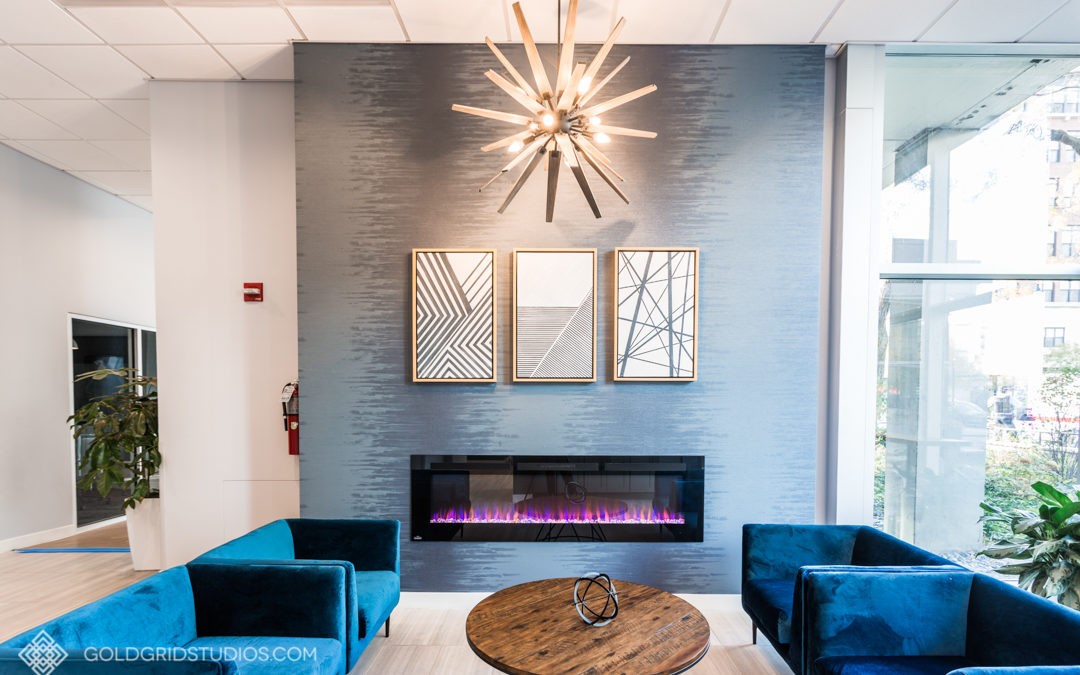
Want to see more of our real estate photography work? Check out this gallery showcasing work we did for Ansonia Properties here in Chicago!

Trackbacks/Pingbacks